Welcome to your new documentation project! You are now just a few steps away from launching an online documentation portal for your clients.
This help topic will serve as a quick introduction to basic ClickHelp functionality. It will also help you discover the main features of the WYSIWYG topic editor - your main tool for content creation. In this document, you will find useful documentation links, as well as examples of some elements you can use in your own content.
Good luck with your documentation project!
Typical Tasks
To help you get started easier, we have prepared a set of help topics explaining how to perform the most typical operations in ClickHelp. Check the links below.
- Get Started
- Basic Tasks
- Single-Sourcing Techniques
- Administration and Workflow
Screenshots
When inserting images to a help topic, you may want them to have borders or shading, align them to the left or right, etc. The majority of these settings can be specified in the Insert Image dialog - you can open it by clicking the Image button on the Insert toolbar, and then clicking the Image Properties button. In addition to various image settings, you can also specify a CSS class name that should be applied to the image. Defining classes in the project CSS file is a more scalable approach since you can apply the same class to multiple images to be able to change the style in a centralized manner later.
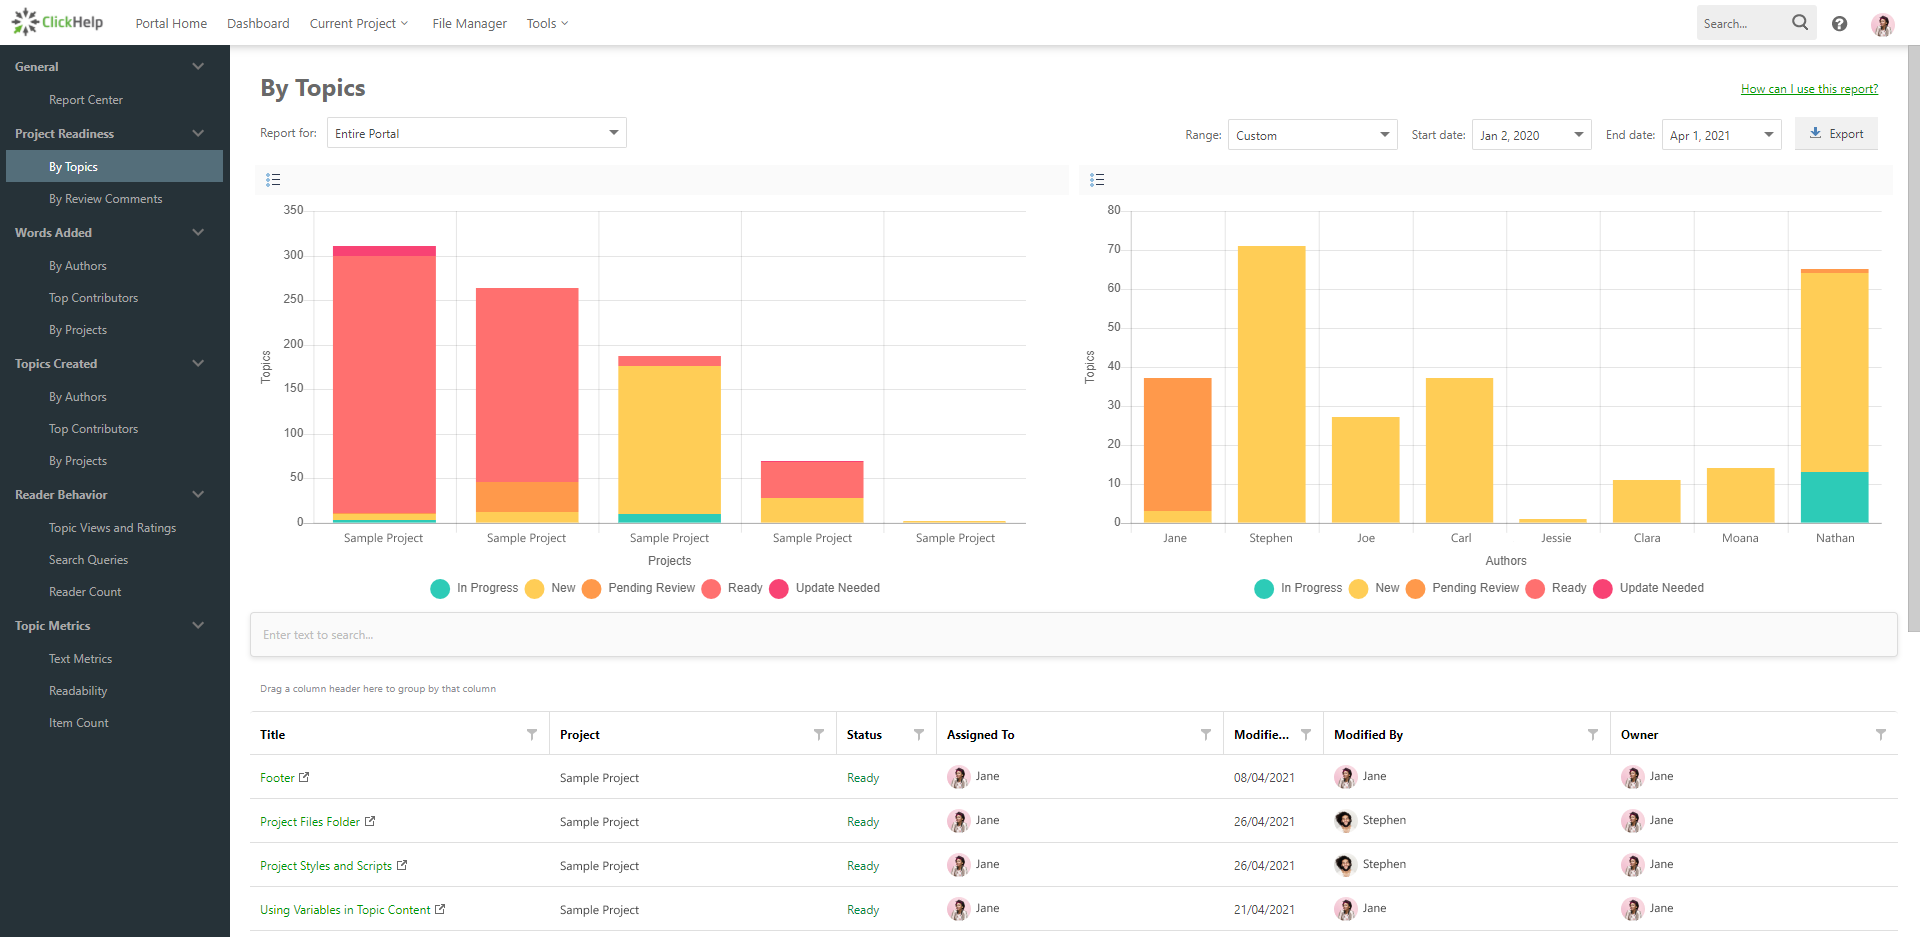
Below, you can find an example of a bigger screenshot aligned to the center. Click the image to open it in full size. Double-click the screenshot in the editing mode to open its properties or to replace it with some other image.
List Styles
You can create both bulleted and numbered lists easily with the WYSIWYG HTML editor. The editor also provides the following features:
- Assigning styles.
-
Images and links can be inserted and changed in documents visually.
- Inserting videos, navigational elements, ready boxes, and more - check the Insert tab on the ribbon.
- Working with tables easily - add/remove rows, cells, and columns, merge and split them, change their properties, etc.
- Using variables, conditional content blocks, and snippets - see the Single-Sourcing tab.
- Pasting content from MS Word.
- Multiple undo/redo operations.
- Automatic changes saving to the server.
- Full-screen mode.
Besides, the editor allows editing the HTML source. The advanced code editor's features include:
- Autocompletion with short inline references on CSS properties, HTML tags and JavaScript objects - all you need to know to write the code without having a web reference opened in another browser tab.
- Syntax highlighting.
- Multiple undo/redo operations.
- Automatic changes saving to the server.
- Full-screen mode.
- Search/replace feature with all matches highlighting.
- Automatic code indentation and highlighting (really useful when you need to make some auto-generated or obfuscated code human-readable).
- Line numbers.
Information Boxes and Text Boxes
In ClickHelp, you can create templated elements for quick reuse. By default, there are several premade Quick Parts that you can use like information boxes and API Docs elements.
Sometimes, it's necessary to highlight some important points, warn about something, or simply provide additional information in a highly visible form. You can use the ready information boxes - check the Quick Parts group of the Insert ribbon tab.
This is an information box:

|
Your information text here. |
And here is a warning box:

|
Your warning text here. |
There is also a success box:

|
Your information text here. |
And a note box:

|
Your information text here. |
And finally, an error box:

|
Your information text here. |
You can also create dropdowns and popups in your help topics.
This text will be displayed when the dropdown hotspot is clicked.
This text will be displayed when the popup hotspot is clicked.
And here is an expandable box - note that it looks different in the editing and reading mode:
Put here the text for your expandable block. Scripts are disabled in the editing mode,
so click "Unlock & View" to see the box in action.
You can also edit the text for the "Show More" and "Hide" elements.
Tabbed Content
You can also create tabbed content in ClickHelp:| First Tab | First Tab Content |
| Second Tab | Second Tab Content |
Note that the element looks different in the editing and reading mode.
Code Samples
ClickHelp comes with built-in support for code samples in multiple languages with automatic syntax highlighting:
JavaScript |
function sampleFunction(param1, param2) { if (/app.*/.test(param1)) { alert("Param1 contains 'app'!"); } else if (param2 > 1) { console.log("Param2 is greater than 1!"); } } sampleFunction("application", 2); |
Note that you can create multi-language samples using a combination of tabs and code sample elements rendered without the code box wrapper:
| JavaScript |
function sampleFunction(param1, param2) { if (/app.*/.test(param1)) { alert("Param1 contains 'app'!"); } else if (param2 > 1) { console.log("Param2 is greater than 1!"); } } sampleFunction("application", 2); |
| C# |
public void sampleFunction(String param1, int param2) { if (param1.Contains("app")) { Console.WriteLine("Param1 contains 'app'!"); } else if (param2 > 1) { Console.WriteLine("Param2 is greater than 1!"); } } ... sampleFunction("application", 2); |
Tables
You can find some HTML table samples below. There's a whole bunch of features - just switch to the Table tab of the ribbon. Here are some ready-to-use table samples:
A table with static odd/even rows highlighting is pretty universal - it will look great in any size. This table with the .CHTable class assigned is the default one in ClickHelp.
| Employee | Salary | Bonus | Supervisor |
|---|---|---|---|
| John Doe | $350 | $75 | Max |
| George Williams | $250 | $50 | Andy |
| Annie Smith | $300 | - | Bob |
| Julie Parker | $275 | $25 | Alex |
This one is easy and simple. The style is OK for small tables, but it does not look good for big ones. The row hover effect can be used for easier reading.
| Employee | Salary | Bonus | Supervisor |
|---|---|---|---|
| John Doe | $350 | $75 | Max |
| George Williams | $250 | $50 | Andy |
| Annie Smith | $300 | - | Bob |
| Julie Parker | $275 | $25 | Alex |
This style is fine for big tables, like the one above. By the way, did you know that the colspan and rowspan attributes can be used to merge multiple rows/cells? See the table footer's markup for a colspan sample.
| Source | Chrome | IE | Firefox | Safari | Opera | Other |
|---|---|---|---|---|---|---|
| StatCounter | 36.52% | 30.71% | 21.42% | 8.29 | 1.19 | 1.87 |
| W3Counter | 30.0% | 27.5% | 20.0% | 14.8 | 2.3% | 5.4% |
| NetApplications | 17.49% | 55.14% | 19.94% | 5.24% | 1.75% | 0.20% |
| The numbers are from Wikipedia . | ||||||
Embedded Video
Online documentation is cool because you can insert video demonstrations and tutorials! ClickHelp supports YouTube , Vimeo and Screencast.com out of the box - switch to the Insert ribbon tab, click Video, and paste the video URL to the dialog. That's it!
If you are using a different video hosting service, it most probably provides a ready HTML snippet to embed the video to web pages. Get the HTML code it generates and insert it in your topic by using the Custom HTML button on the same ribbon tab.
Check out our tutorial video from YouTube as an example.
Using External Fonts
ClickHelp allows you to use dozens of fonts out of the box. If you feel like this is not enough, use any online font resources you like. Some fonts we use in our templates are retrieved from Google Web Fonts - a free resource with tons of pretty fonts stored there. To see how fonts are referenced, click the Styles | Open for Editing... button on the Home tab. In the styles file, look for the font-family property or the font-face rule which is used for online fonts.
In addition to using fonts located on third-party websites, you can also put the font file to your ClickHelp File Storage and reference it in your style definitions.
As you see, it does not matter where the font is actually stored - web browsers treat it in the same manner.
FAQ Example
In your documentation, you may want to create the Q&A section to highlight the most important facts. Here is an example of a Question-Answer pair design, which can be used in your documentation:
Q: How can I create an FAQ entry with ClickHelp?
A: It's easy. First of all, decide if you want one TOC entry per question, or if you would like to have one topic per FAQ category containing many questions. The former approach is good when the answer text is long and self-contained; the latter approach fits the situation when the answers are short and some of them are tightly related to each other. When you have made this decision, go ahead and create the TOC structure you need, then start writing the contents using this Q&A pair as a template - copy&paste it to your topics. If you would like to change the style a little bit, open the project style file and find the FAQ section in it.